BPF Online Blog

FREE UK carriage on orders over £250 nett      No minimum order value      Trade discounts       Order FREE samples online       Last cut off for overnight: 3pm

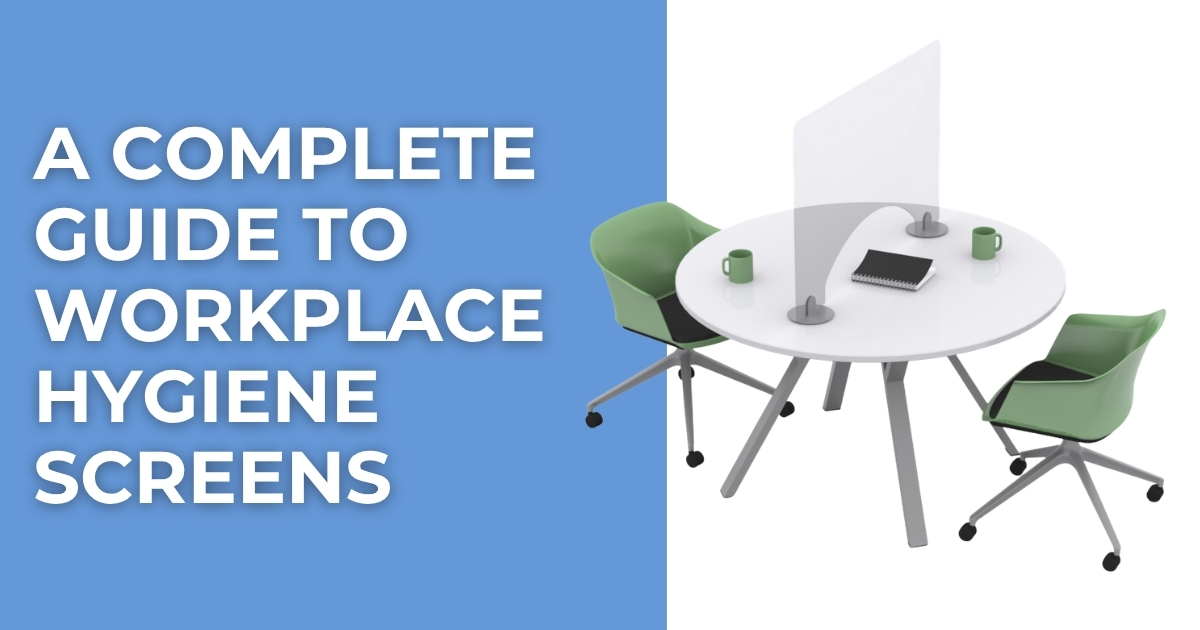
A Complete Guide to Workplace Hygiene Screens

Workplace hygiene screens provide a practical way to create physical separation between people in offices, reception areas, retail environments, service...
Read More

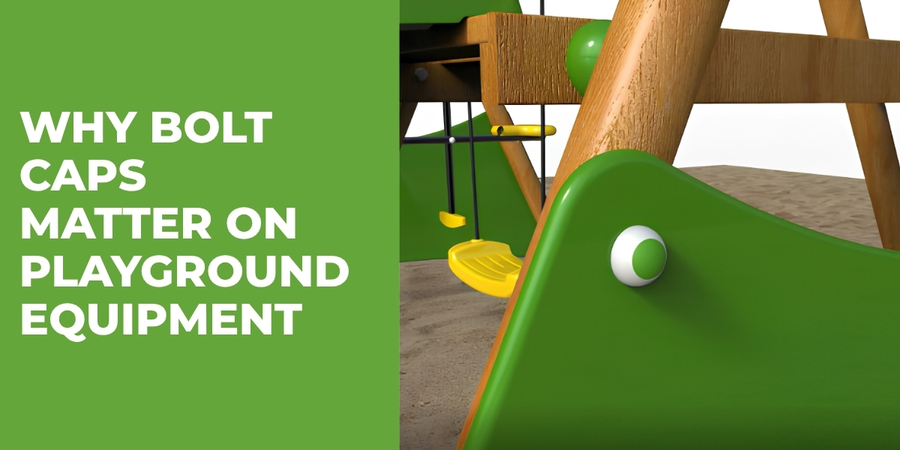
Why Bolt Caps Matter on Playground Equipment

When manufacturers and installers build playground equipment, they need to consider every component, right down to the smallest fixing. Bolts,...
Read More
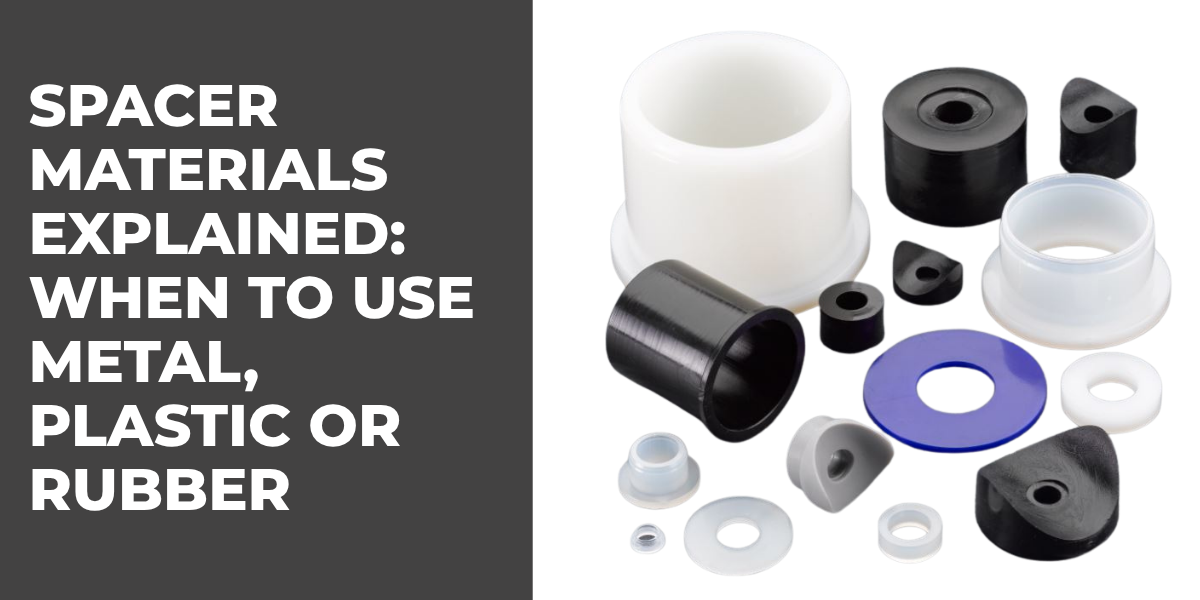
Spacer Materials Explained: When to Use Metal, Plastic or Rubber Spacers

Spacers may look like simple components, but the material you choose can greatly affect how an assembly performs. A spacer...
Read More
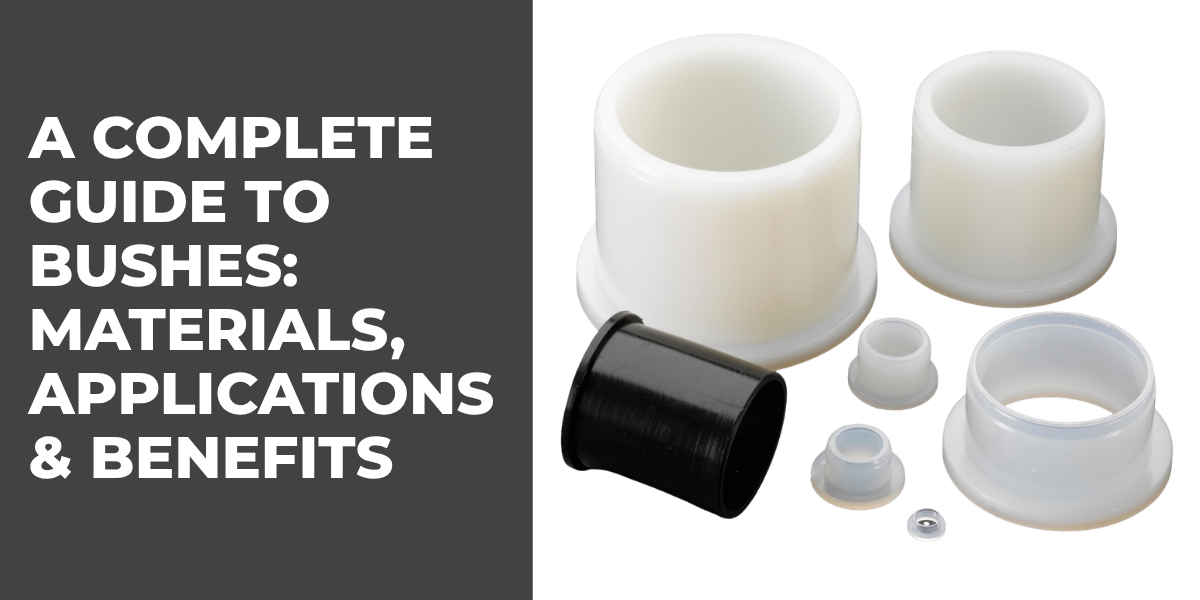
A Complete Guide to Bushes: Materials, Applications & Benefits

Bushes play an important role in mechanical assemblies, helping manufacturers manage movement, reduce friction, protect components and maintain accurate spacing....
Read More
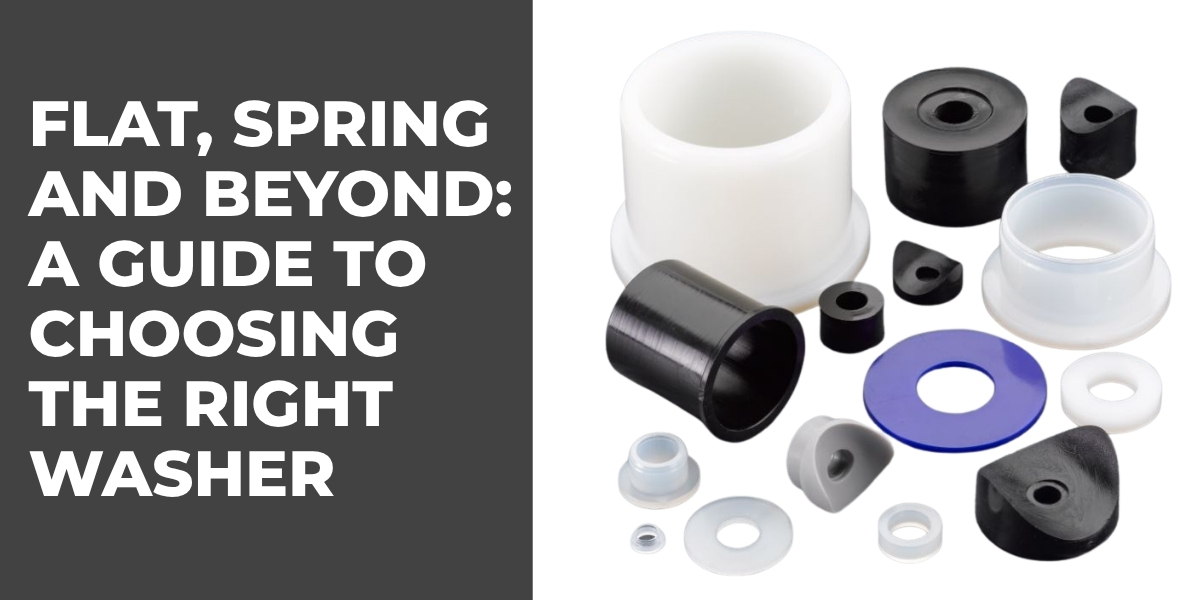
Flat, Spring and Beyond: A Guide to Choosing the Right Washer

Washers are small but essential components used in countless mechanical and industrial assemblies. While a standard flat washer may look...
Read More
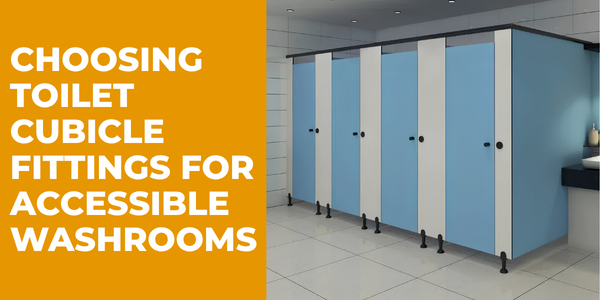
The Importance of Accessibility-Compliant Cubicle Hardware

Choosing Toilet Cubicle Fittings for Accessible Commercial Washrooms Accessibility is an increasingly important consideration when designing commercial washrooms. For architects,...
Read More
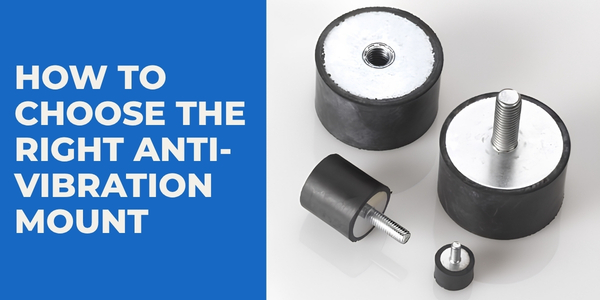
How to Choose the Right Anti-Vibration Mount

Choosing the right anti-vibration mount isn't simply a case of finding a mount that fits. The correct solution needs to...
Read More
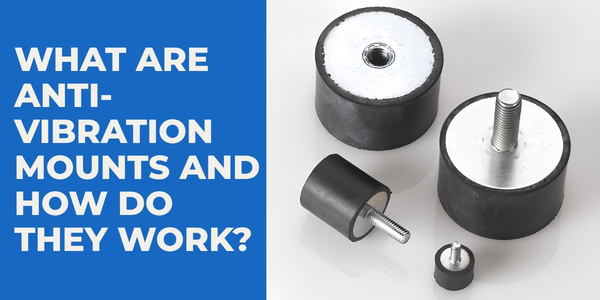
What Are Anti-Vibration Mounts and How Do They Work?

Vibration is an unavoidable part of many mechanical and industrial applications. Motors, pumps, compressors, generators and other machinery naturally move...
Read More
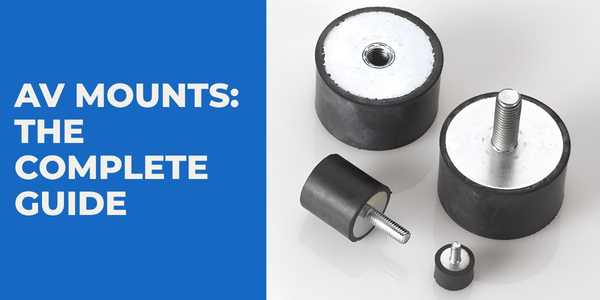
AV Mounts: The Complete Guide

Vibration can be an unavoidable part of operating machinery, equipment and mechanical systems. While some movement is perfectly normal, excessive...
Read More
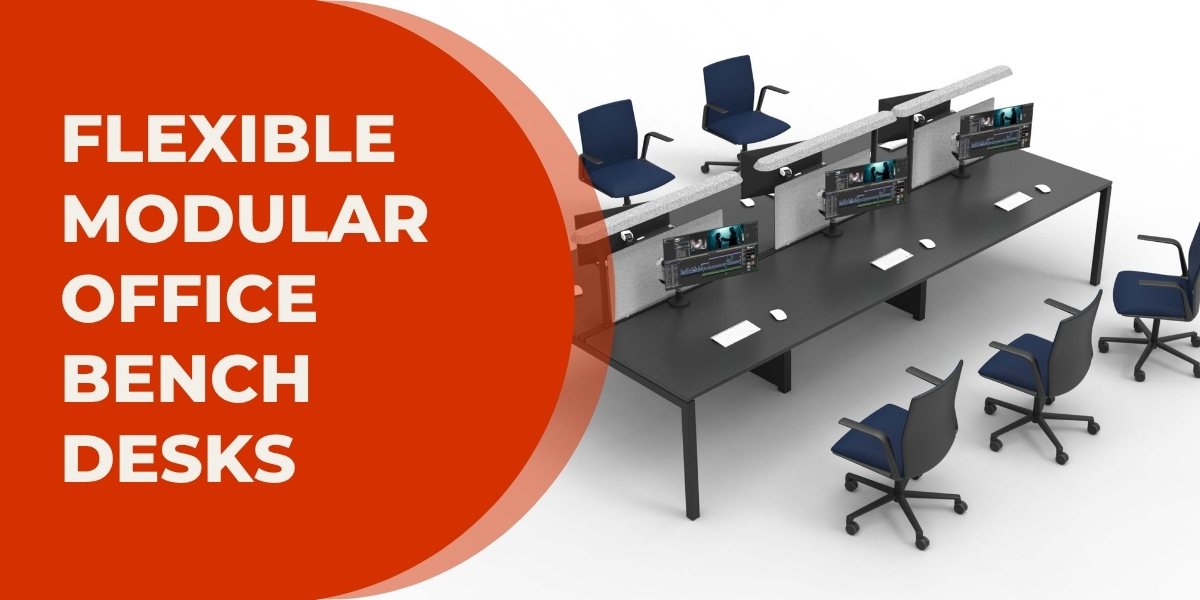
X3 Bench Desk: Flexible Modular Office Desks for Every Workspace

A bench desk is one of the most efficient ways to maximise office space while creating a collaborative working environment....
Read More

How to fit the Ghost Concealed Internal Sliding Door System in 15 easy steps

If you’re wanting to separate a single living space into two separate areas with a sliding door, or close off a storage space or cupboard, the Ghost Internal Sliding Door System is a stylish solution to an age-old problem. It delivers an easy-to-fit, sliding door solution, without the unsightly track – whether the doors are open or closed. With the Ghost Concealed Internal Sliding Door System, the track is built into the door, so whether the door is open or closed, you cannot see the track mechanism, making our sliding doors as beautiful as they are practical.

It’s easy to fit too. You can fit the Ghost Sliding Door System in just 15 easy steps. We’ve explained them below, and each step has a timestamp so you can easily refer to the correct section of the video below.

You will need:

    • Spirit level
    • Pencil
    • Drill
    • Phillips screwdriver
    • The Ghost Concealed Sliding Door System
    • Rawl plugs
    • Allen key

    How to fit a beautiful ghost concealed sliding door solution in 15 easy steps

    1. Identify the height that you’d like the top of the door, and the positioning of the outer edge of the door, to be when it’s closed and mark it with a line. (00:30) 
    2. Using a spirit level or laser level, ensure your line is straight. Line up the bracket mount and mark where to drill the holes. (00:35)
    3. Drill holes and insert the rawl plugs. (00:42) 
    4. Use the screws supplied to attach the bracket mount securely to the wall. Don’t fully tighten the screws just yet; position all of the screws and screw them into the rawl plugs loosely. Then, ensure the bracket is straight before fully tightening the screws. (00:47)
    5. Add the bracket that sits on top of the bracket mount (with the black castors on). Secure this to the bracket mount with the bolts. Once all bolts are in, use a spirit level or a laser level to ensure the bracket is straight. Then tighten with an allen key for each of the 7 bolts. (1:03)
    6. Be sure to secure the top and bottom of the top bracket to the mounting plate with the relevant bolts in the sides of the bracket, at the top right and bottom centre and once more tighten with an allen key (1:10).
    7. Insert the black pins at the top and bottom of this plate as shown in the video (1:12). 
    8. Now identify the foot plate that the door rests on (1:22). Mark holes in the floor (for exact measurements from the wall, see instructions). Use the plate and mark with a pencil where the holes need to be. Then attach the floor bracket to the floor using the three screws provided. 
    9. Now, it’s time to prep the door… Insert the brass fixings into each of the holes at the top of the door. They should just slide in to the pre-drilled holes in the door.  
    10. Attach the door runner to the door using bolts in each of the holes. Then tighten the bolts. (1:46)
    11. Add the end-bracket and secure it with two cross head screws into the bottom runner on the side of the door that corresponds to the side of the door where the black pin sits in the lower runner (1.55). Use the two holes nearest to you and farthest from the wall to secure the end-bracket.
    12. Slide on the screw cover for a stylish and seamless finish. (1:57)
    13. You may need another pair of hands for this part. Place the door on top of the floor runners. Now, slide the door from the opposite side to where you’ve just attached the bracket to the bottom stopper onto the runner. Slide it all the way onto the runner and then add the last bracket to the top rail at the opposite side of the door. This should also correspond with where the pin sits in the top of the runner. You can see this clearly in the video (2:02). Secure the bracket with two cross head screws in the two holes nearest to you and farthest from the wall. (2:10)
    14. Cover with the included screw cover plate. (2:11) 

    And there you have it – a sleek and stylish Ghost Concealed Sliding Door that can hide away your clutter or separate your living space without encroaching on your space. For more Ghost Concealed Sliding Doors you can check out our range here on our website or call us on 01295 565001 for advice from our team.